

Breast Pump Flanges: Sizing, Fit and Comfort
The right flange fit can transform pumping—more milk in less time with far less soreness. This guide explains how to measure your nipple diameter in millimeters, pick a starting size, recognize fit signals, and fine-tune for comfort and output. You’ll also find a quick sizing chart, special scenarios (elastic nipples, wearables, edema), cleaning and care, and a practical troubleshooting checklist.
Why flange size matters
Flanges direct vacuum to the nipple and create a seal for milk removal. If the tunnel is too large, areola is pulled in excessively, friction increases, and vacuum can dissipate—leading to irritation and low output. Too small and the nipple rubs, blanches, or gets compressed, which can block flow and cause pain. A good fit centers the nipple, allows it to glide without scraping, and keeps most of the areola outside the tunnel.
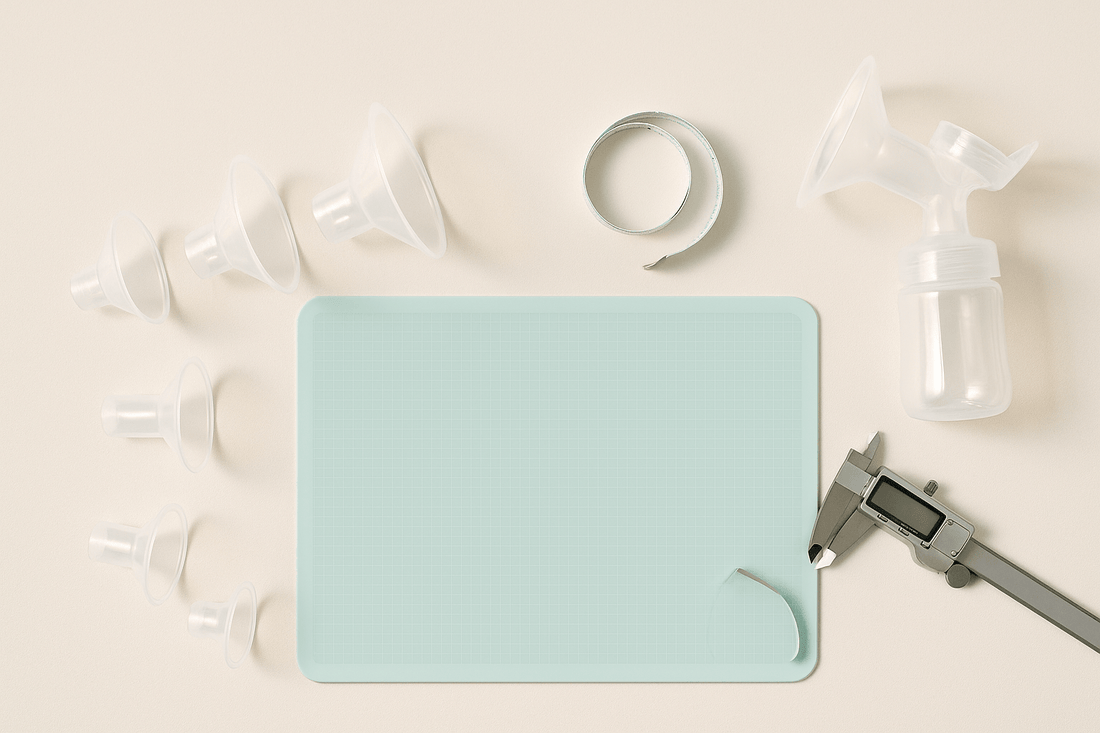
How to measure in millimeters (step-by-step)
- After a warm shower or several minutes post-pump/feed, stand in front of a mirror under good light.
- Gently evert the nipple. Using a soft tape or calipers, measure the nipple’s diameter in millimeters at the base—exclude the areola.
- Measure both sides; they can differ by 1–3 mm. Write the numbers down.
- Select a starting flange size roughly your measurement + 1–3 mm.
- Test for 2–3 minutes at low settings; reassess comfort and movement before increasing suction.
Tip: Nipple diameter can vary throughout the day (engorgement, cycle, hydration). Re-check when comfort changes.
Quick starting-size chart
| Nipple diameter (mm) | Start with (mm) | Common sizes available* |
|---|---|---|
| 12–13 | 15 | 15, 17 |
| 14–15 | 17 | 17, 19 |
| 16–17 | 19 | 19, 21 |
| 18–19 | 21 | 21, 22, 24 |
| 20–21 | 24 | 24, 25 |
| 22–23 | 25–27 | 25, 26, 27 |
| 24–26 | 27–30 | 27, 28, 30 |
*Brands offer different size steps. Use the closest available size; comfort and output are the tiebreakers.
Fit signals: right vs. wrong size
- Good fit: Nipple moves freely with each cycle; minimal areola is drawn in; no whitening or burning; steady milk spray or drops.
- Too small: Rubbing/scraping, blanching at the tip, “lipstick” shape after pumping, stinging during suction.
- Too large: Areola pulled deep into the tunnel, swollen tissue post-pump, fluctuating suction, more discomfort at higher levels.
- Borderline: Output stalls unless suction is very high—often a sign the tunnel is slightly large or alignment is off.
Special scenarios & fine-tuning
Elastic nipples
Elastic tissue stretches far into the tunnel. Many parents size closer to the exact diameter (or +1 mm) and keep suction moderate.
Edema/engorgement
Fluid retention can temporarily increase diameter. Re-measure after swelling improves; consider a temporary size up, then return to the smaller size.
Wearable cups & angled flanges
Cup geometry (tunnel length/angle) and bra compression affect fit. Shorter tunnels may need a slightly smaller size for the same diameter. Ensure bra bands don’t push shields off-center—use a pumping bra that supports without squashing.
Tunnel length & rim comfort
Long tunnels help highly elastic nipples; softer rims reduce ring marks. A tiny amount of food-safe lubricant (if compatible with your parts) can reduce friction.
Setup, positioning & comfort stack
- Assemble valves/diaphragms fully and check airtight seals. Seat tubing firmly.
- Center the nipple; hold flanges level to avoid milk slosh-back. Start on a low setting.
- Increase to the lowest effective level that maintains flow. If spray slows, switch briefly to a faster “stimulation” rhythm, then back.
- Hands-on pumping—gentle compressions—often improves drain and comfort.
- Between sessions, if surface tenderness appears, many parents soothe with silver nursing cups (reusable). Remove before nursing or pumping.
Cleaning, care & replacement cadence
- After each session: Wash milk-contact parts with hot, soapy water; rinse and air-dry. Sanitize as your brand allows.
- Storage basics: Room ≤25 °C (77 °F) up to 4 h • Fridge up to 4 d • Freezer ~6 m (≤12 m acceptable). Thawed in fridge → use within 24 h; do not refreeze.
- Replace wear items: Duckbills/membranes ~4–8 weeks (daily use) • Tubing when loose/discolored • Shields if warped or cracked.
Troubleshooting (advanced)
- Low output, high suction: Likely oversizing or off-center alignment. Try one size down, recenter, and keep levels moderate.
- Nipple pain: Size may be small; lower suction; add a brief stimulation burst mid-session; consider a softer rim shield.
- Milk in tubing: Check backflow parts, keep bottles level, replace affected tubing and dry lines before storage.
- One side underperforms: Different sizes per side are common. Re-measure that side and experiment one step up/down.
- Condensation in tubing: Run the pump 1–2 minutes unattached to dry lines.
FAQ
Do I need the same size for both breasts?
Not necessarily. It’s common to use different sizes per side—fit each breast individually.
How often should I re-measure?
Any time comfort/output shifts: early postpartum, after illness, with cycle changes, or when switching pumps/cups.
Can I use lubricant?
Many do. Use a tiny amount of food-safe product that won’t damage silicone/polycarbonate and won’t leave residue in vents.
Do silver nursing cups replace flanges?
No—cups are for between sessions to soothe skin. Always remove before nursing or pumping.